










Les bandes transporteuses constituent des éléments essentiels dans divers secteurs, notamment l'industrie manufacturière, la logistique et l'entreposage. Au fil du temps, l'usure ou des dommages imprévus peuvent nécessiter le remplacement de la bande transporteuse afin de garantir le bon fonctionnement des opérations. Savoir comment remplacer une bande transporteuse peut vous faire gagner du temps et de l'argent, en réduisant les temps d'arrêt et en assurant le fonctionnement efficace de vos systèmes.
Dans ce guide, nous aborderons les Étapes à suivre pour remplacer la bande transporteuse en toute sécurité et avec efficacité. Nous présenterons également Vitrans, l'un des principaux fabricants de convoyeurs à palettes et systèmes de transfert de palettes, réputée pour ses systèmes de convoyage de haute qualité et ses tarifs compétitifs.
H2 : Pourquoi l'entretien des bandes transporteuses est-il important ?
Un entretien adéquat des bandes transporteuses est essentiel pour plusieurs raisons :
- Réduire au minimum les temps d'arrêt: Un tapis roulant bien entretenu fonctionnera correctement, ce qui permettra d'éviter les arrêts imprévus.
- Améliorer l'efficacité: Veiller à ce que votre bande transporteuse soit en parfait état permet d'optimiser la productivité de vos lignes de production et d'assemblage automatisées.
- Prévention des accidents: Une inspection régulière et le remplacement des courroies endommagées permettent d'éviter les accidents dus à des défaillances des convoyeurs à bande.
H2 : Outils et matériel nécessaires au remplacement d'une bande transporteuse
Avant de vous lancer dans les différentes étapes du remplacement d'une bande transporteuse, il est essentiel de rassembler les outils et le matériel nécessaires. Le fait de les avoir à portée de main rendra l'opération plus efficace et vous permettra de remplacer rapidement la bande.
H3 : Outils :
- Jeu de clés et de douilles
- Jauge de tension de courroie
- Pince-mouton
- Outil de découpe à bande ou couteau
- Mètre ruban
- Kit de raccordement pour bande transporteuse (si nécessaire)
- Gants de protection et équipement de sécurité
H3 : Matériaux :
- Bande transporteuse de rechange
- Éléments de fixation ou colliers de serrage (pour fixer la nouvelle courroie)
- Lubrifiant pour rouleaux (si nécessaire)
H2 : Guide étape par étape pour remplacer une bande transporteuse
Maintenant que nous avons préparé les outils et le matériel nécessaires, voyons étape par étape comment remplacer une bande transporteuse.
H3 : Étape 1 : Arrêter le système de convoyage
La sécurité avant tout: Avant de commencer l'opération de remplacement, assurez-vous que le système de convoyage est complètement à l'arrêt. Débranchez l'alimentation électrique et verrouillez toutes les sources d'énergie afin d'éviter tout démarrage accidentel pendant l'opération. Cette étape est essentielle pour prévenir les accidents et garantir la sécurité de tous les travailleurs participant au remplacement.
H3 : Étape 2 : Inspecter la bande transporteuse et le système
Prenez le temps d'inspecter l'ensemble du système de convoyage. Recherchez tout signe de détérioration, non seulement sur la bande, mais aussi sur les poulies, les rouleaux et les autres composants. Si d'autres pièces sont usées ou endommagées, elles doivent être remplacées en même temps que la bande afin d'éviter toute panne future.
Vitrans, un prestataire de confiance spécialisé dans convoyeurs à palettes et systèmes de transfert, conçoit des composants de convoyeurs résistants, mais il est tout de même important de procéder à des contrôles réguliers pour garantir leur longévité.
H3 : Étape 3 : Relâcher la tension de la courroie
La plupart des systèmes de convoyage utilisent un mécanisme de tension pour maintenir la bande en place et assurer son bon fonctionnement. À cette étape, utilisez une clé ou un tensiomètre pour relâcher la tension de la bande transporteuse. Cela facilitera le retrait de l'ancienne bande et la mise en place de la nouvelle.
Conseil de pro: Notez bien la tension à laquelle était réglée l'ancienne courroie afin de pouvoir régler correctement la nouvelle par la suite.
H3 : Étape 4 : Retirez l'ancienne bande transporteuse
Une fois la tension relâchée, utilisez un outil de coupe ou un couteau pour découper et retirer avec précaution l'ancienne bande transporteuse du système. Si la bande est en assez bon état pour être réutilisée, retirez-la simplement sans la couper.
H3 : Étape 5 : Installer la nouvelle bande transporteuse
Une fois l'ancienne courroie retirée, il est temps d'installer la nouvelle. Commencez par enfiler la courroie dans les poulies et les galets, en veillant à ce qu'elle soit correctement alignée avec le système. N'oubliez pas que la courroie doit être centrée pour éviter tout problème de désalignement par la suite.
H3 : Étape 6 : Raccorder la bande transporteuse (si nécessaire)
Si la nouvelle courroie est trop longue ou trop courte, vous devrez peut-être la raccorder pour ajuster sa longueur. De nombreuses courroies sont fournies avec un kit de raccordement, qui vous permet de couper la courroie et d'assembler solidement ses extrémités. Suivez les instructions fournies avec le kit de raccordement pour garantir un raccordement correct.
H2 : Vitrans : votre partenaire de confiance pour les systèmes de convoyage
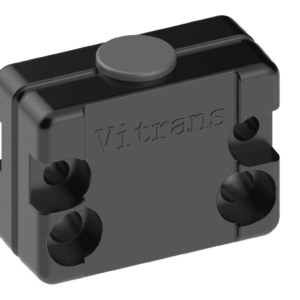
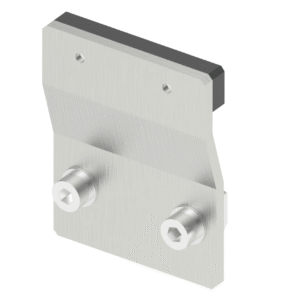
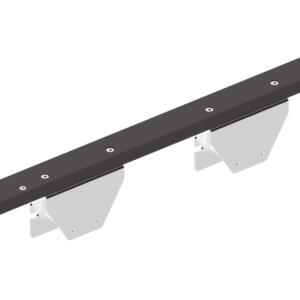
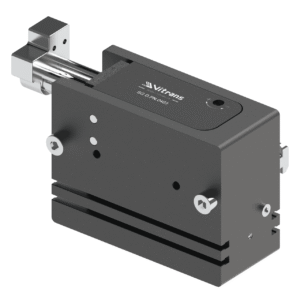
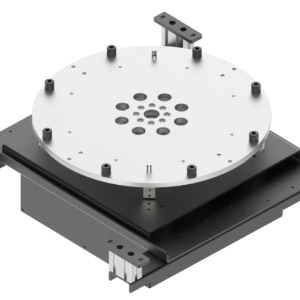
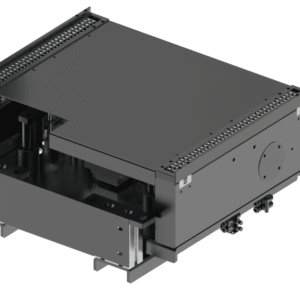
Vitrans est un acteur de premier plan dans le secteur des systèmes de convoyage depuis plus de 10 ans. L'entreprise propose des solutions de haute qualité répondant à divers besoins industriels, et est spécialisée dans convoyeurs à palettes, systèmes de transfert de palettes, et convoyeurs à fixation. Leur engagement en faveur de l'excellence se reflète dans la qualité de leurs produits, qui sont largement utilisés dans les chaînes de production automatisées à travers le monde.
H3 : Pourquoi choisir Vitrans ?
- Des produits fiables: Les systèmes de convoyage de Vitrans, tels que le Convoyeur à palettes à bande et Convoyeur à chaîne à accumulation, sont conçus pour allier durabilité et efficacité.
- Des prix abordables: Grâce à son solide réseau de fournisseurs en Chine, Vitrans est en mesure de proposer des convoyeurs de haute qualité à des prix compétitifs.
- Présence mondiale: Vitrans exporte ses produits vers un grand nombre de pays, permettant ainsi à ses clients du monde entier de bénéficier de ses solutions.
Si vous avez besoin d'un nouveau système de convoyage ou de remplacer une bande transporteuse, Vitrans est un partenaire de confiance capable de fournir des produits de haute qualité dans des délais courts.
H2 : Dernières étapes pour garantir une installation correcte
Une fois la nouvelle bande transporteuse installée, il reste quelques étapes finales à suivre pour s'assurer que le système fonctionne correctement et efficacement.
H3 : Étape 7 : Régler la tension
Une fois la nouvelle courroie en place, utilisez un tensiomètre de courroie pour ramener la tension au niveau approprié. Une tension trop élevée peut entraîner une usure prématurée de la courroie, tandis qu'une tension insuffisante peut provoquer un glissement et nuire aux performances.
H3 : Étape 8 : Faites fonctionner le convoyeur à titre d'essai
Avant de remettre le convoyeur en service à plein régime, effectuez un essai du système. Observez le mouvement de la bande pour vous assurer qu'elle est correctement alignée et qu'elle fonctionne sans aucun problème.
Si vous constatez des signes de désalignement, réglez la courroie en conséquence. Un alignement correct permettra de prolonger la durée de vie de la courroie et d'améliorer le rendement global du système.
H3 : Étape 9 : Lubrifiez les rouleaux et les poulies
Pour garantir un fonctionnement sans heurts et réduire l'usure de la nouvelle courroie, appliquez une fine couche de lubrifiant sur les rouleaux et les poulies. Cela permettra de minimiser les frottements et facilitera le déplacement de la courroie.
H3 : Étape 10 : Entretien et contrôles réguliers
Une fois la nouvelle courroie installée et fonctionnant correctement, il est important de prévoir un entretien et des contrôles réguliers afin de prolonger sa durée de vie et d'éviter toute panne future. Cela implique notamment de vérifier régulièrement la tension, l'alignement et l'état de la courroie.
H2 : Foire aux questions sur le remplacement des bandes transporteuses
H3 : Q1 : À quelle fréquence faut-il remplacer une bande transporteuse ?
A1: La fréquence de remplacement d'une bande transporteuse dépend du type de système de convoyage, des matériaux transportés et des conditions d'exploitation. Il convient de procéder à des inspections régulières afin de détecter les signes d'usure et de déterminer à quel moment un remplacement s'impose.
H3 : Q2 : Puis-je remplacer une bande transporteuse sans l'aide d'un professionnel ?
A2: Bien que certains remplacements de bandes transporteuses puissent être effectués sans l'aide d'un professionnel, il est toujours recommandé de confier l'installation à des techniciens expérimentés afin de garantir un alignement et une tension corrects. Une installation réalisée par des professionnels permet de réduire le risque d'erreurs et de prolonger la durée de vie de la nouvelle bande.
H3 : Q3 : Comment savoir si mon tapis roulant est correctement aligné ?
A3: Une bande transporteuse correctement alignée fonctionnera sans à-coups, sans dévier de son axe ni provoquer d'usure inutile. Un mauvais alignement peut entraîner une usure inégale, une friction accrue et une réduction de la durée de vie de la bande. Vérifier régulièrement le fonctionnement de la bande pendant son utilisation est le meilleur moyen de garantir son bon alignement.
H2 : Tableau comparatif : types de bandes transporteuses et leurs utilisations
| Type de bande transporteuse | Idéal pour | Caractéristiques |
|---|---|---|
| Convoyeur à palettes à bande | Charges très lourdes | Résistant, adapté aux palettes lourdes dans le secteur industriel |
| Convoyeur à chaîne à accumulation | Chaînes de montage, accumulation de produits | Assure un mouvement fluide, idéal pour les chaînes de montage |
| Convoyeur d'accessoires | Applications sur mesure | Polyvalent, compatible avec divers accessoires |
| Convoyeur de transfert de produits | Transfert d'éléments d'un système à l'autre | Transfert efficace des produits entre les convoyeurs |
En conclusion, il est essentiel de savoir remplacer correctement une bande transporteuse pour préserver l'efficacité de votre chaîne de production. Que vous utilisiez un convoyeur à palettes à bande ou un convoyeur de transfert de produits de Vitrans, en suivant les étapes appropriées, vous garantirez une transition en douceur et éviterez des temps d'arrêt coûteux. Un entretien et des contrôles réguliers permettront à votre système de convoyage de fonctionner sans encombre pendant de nombreuses années.